Weather Service
Retrieve the current temperature for any city or location
Overview
This example demonstrates how to build a weather service application that retrieves current temperature information for any city or geographic location. The app showcases real-world usage of networking and data parsing capabilities by integrating with external APIs to fetch and process weather data.
| Functionality demonstrated | Technology demonstrated | Github Project |
|---|---|---|
| • Retrieving current temperature by city name • Geocoding city names into coordinates • Fetching weather data using coordinates • Asynchronous network requests with closures • Dynamic UI update with fetched temperature • Reusing Swift logic inside Android UI | • Swift Android compiler • Swift4j • SwiftPM Gradle for Android • Foundation framework • Swift async/await | iOS Example Android Example |
The Weather Service example highlights the most commonly used features from the Foundation framework:
- Networking: Making asynchronous HTTP requests using
URLto communicate with external APIs - JSON Parsing: Processing JSON responses using
JSONSerializationto extract meaningful data from API responses
APIs used:
- Open-Meteo - retrieves weather data
- OpenStreetMap Nominatim - geocodes city names into coordinates The app shows how to chain multiple API calls and handle different response formats.
Architecture: To build this weather service application, the task is split into two distinct parts:
- Core App Logic: Developed in Swift to handle data fetching and processing.
- User Interface: Created in Android Studio to target the previously developed logic.
It is strongly recommended that you complete the HelloWorld example first, as it covers essential concepts that are only briefly mentioned in this example.
Develop in Xcode
Create Xcode project
We start by implementing the core logic of our weather service application in Swift. First, we generate a new Swift Package using the standard swiftcommand line tool that is available in the Swift toolchain:
swift package init --type library --name WeatherServiceFor this step we can just use the Swift toolchain shipped within the Xcode.
The command generates a new Swift Package with one target named WeatherService as well as a library product with the same name consisting of this target.
Editing Package.swift
Now, we edit the Package.swift file to add the dependencies we need for our application. The resulting file should look like this:
// swift-tools-version: 5.10
// The swift-tools-version declares the minimum version of Swift required to build this package.

import Foundation
import PackageDescription

let package = Package(
		// Package.swift

    name: "WeatherService",

    products: [
        .library(
            name: "WeatherService",
            // We use dynamic library to be able to use it on Android
						type: .dynamic,
            targets: ["WeatherService"])
    ],

    dependencies: [
			// We use the Swift4j package to mark the Swift code that should be available on Android as Java API
      .package(url: "https://github.com/scade-platform/swift4j.git", from: "1.3.0")
    ],

    targets: [
        .target(
            name: "WeatherService",
            dependencies: [
							// We add the Swift4j package as a dependency to our target
              .product(name: "Swift4j", package: "swift4j")
            ]
        )
    ]
)
In this configuration, we changed the type of the library product to .dynamic, which is necessary for the library to be usable on Android. We also added a dependency on the Swift4j package, which provides the necessary functionality to expose Swift code as Java API.
WeatherService class
Next, we implement the core logic of our weather service application. Create a class named WeatherService in the file Sources/WeatherService/WeatherService.swift. This class will handle:
- Fetching weather data from the Open-Meteo API
- Geocoding city names using the OpenStreetMap Nominatim API
The shortened version of the code (omitting exception logging) is presented below:
import Foundation
import Swift4j
@jvm
class WeatherService {
/// This method makes a network request to the Open-Meteo API to retrieve the
/// current temperature at the given coordinates. The result is returned via the
/// response closure. If the request fails or the data cannot be parsed, the closure is not called.
private func currentTemperature(latitude: Double, longitude: Double, _ response: (Float, String) -> Void) async {
// Construct the API URL for the given coordinates
let url = URL(string: "https://api.open-meteo.com/v1/forecast?latitude=\(latitude)&longitude=\(longitude)¤t=temperature_2m")!
do {
// Perform the network request asynchronously
let (data, _) = try await URLSession.shared.data(from: url)
// Parse the JSON response to extract temperature and units
guard let json = try JSONSerialization.jsonObject(with: data) as? [String: Any],
let current = json["current"] as? [String: Any],
let current_units = json["current_units"] as? [String: Any],
let current_temp = current["temperature_2m"] as? Double,
let current_temp_units = current_units["temperature_2m"] as? String else { return }
// Call the response closure with the temperature and units
response(Float(current_temp), current_temp_units)
} catch { }
}
/// This method first geocodes the city name to latitude and longitude using the
/// OpenStreetMap Nominatim API, then fetches the current temperature for those coordinates.
/// If the city cannot be found or the request fails, the closure is not called.
func currentTemperature(city: String, _ response: (Float, String) -> Void) async {
do {
// Construct the geocoding API URL for the city
let url = URL(string: "https://nominatim.openstreetmap.org/search?city=\(city)&format=json")!
// Perform the network request asynchronously
let (data, _) = try await URLSession.shared.data(from: url)
// Parse the JSON response to extract latitude and longitude
guard let json = try JSONSerialization.jsonObject(with: data) as? [Any],
let cityData = json.first as? [String: Any] else { return }
guard let lat = cityData["lat"] as? String,
let lon = cityData["lon"] as? String else { return }
// Convert latitude and longitude to Double and fetch temperature
if let lat = Double(lat), let lon = Double(lon) {
await currentTemperature(latitude: lat, longitude: lon, response)
}
} catch { }
}
}Explanation:
- We define a class
WeatherServicewith two asynchronous methods:- currentTemperature(latitude:longitude:response:) - fetches temperature from Open-Meteo at given coordinates
- currentTemperature(city:response:) - geocodes a city name to coordinates and then fetching the temperature for those coordinates by calling the first function.
- Both functions use standard Foundation functionalities (e.g.,
URLfor networking,JSONSerializationfor parsing JSON data) and Swift'sasync/awaitsyntax. - The code runs on any Apple platform. The
Swift4jpackage with the @jvm attribute exposes the WeatherService class and its methods as a Java API for Android. Please, note that the first function is private and hidden from Java; the second is public and accessible.
Now is the time to move to the Android part of the application.
Reuse Swift code on Android
Create new Android project
Create a new Android project in Android Studio using the Empty Activity template with the Kotlin DSL as the Build configuration language. This setup creates a new Android project with the necessary files and configurations.
Setup the gradle config file in the app directory
To use the WeatherService class in the Android application, add the Swift Package as a dependency:
- Open the
build.gradle.ktsfile located inside theappfolder (IMPORTANT: there are usually twobuild.gradle.ktsfiles; use the one in theappfolder). - Add the Swift Packages for Gradle plugin to the
pluginsblock, and then add a configuration section for the plugin specifying the Swift Package to use.
The resulting file should look like this:
plugins {
		// The first two plugins are generated by the Android Studio wizard
    alias(libs.plugins.android.application)
    alias(libs.plugins.kotlin.android)

		// We add the Swift Packages for Gradle plugin to the project
    id("io.scade.gradle.plugins.android.swiftpm") version "1.3.0"
}

android {
	// This part remains untouched and is generated by the Android Studio wizard
}

dependencies {
	// This part remains untouched and is generated by the Android Studio wizard
}

swiftpm {
    path = file("../../Packages/WeatherService")
    product = "WeatherService"
    javaVersion = 8
    scdAutoUpdate = true
}
Notes:
- The Swift Packages for Gradle plugin handles building the Swift Package, generating the Java API, and packaging everything in the final application.
- The configuration block specifies the path to the Swift Package, the product name, the target Java version (8 is chosen here to support older Android APIs), and whether to automatically update the Swift Toolchain for Android.
After this, we can just build the project, if you don't have the Swift Toolchain for Android installed, the plugin will download it automatically and install it. If you already have the toolchain installed, the plugin will check the installed version and update it if a new version is available. Also, the plugin will generate the Java API for the WeatherService class so that we can immedately access it from our Kotlin code.
Bind Swift logic to Android UI control
Now, we can open the MainActivity.kt file and implement the user interface logic. For the sake of simplicity we just add a label that will show the current temperature for a given city. First, we add an import statement for the WeatherService class exported from the Swift package previously at the top of the file:
import WeatherService.WeatherServiceThe Java API class and package names are generated based on the Swift target name and the class name, so in this case, the target is WeatherService and the class is WeatherService.
Next, we add the User-Interface related logic and calling the WeatherService to the MainActivity class. The complete code of the MainActivity.kt file is presented below:
class MainActivity : ComponentActivity() {
    private val temperatureText = mutableStateOf("Current temperature: retrieving...")
    private lateinit var weather: WeatherService

    override fun onCreate(savedInstanceState: Bundle?) {
        super.onCreate(savedInstanceState)

				// Setting up the user interface using Jetpack Compose
        enableEdgeToEdge()
        setContent {
            WeatherAppTheme {
                Scaffold(modifier = Modifier.fillMaxSize()) { innerPadding ->
                    Temperature(
                        modifier = Modifier.padding(innerPadding)
                    )
                }
            }
        }

        // Calling the WeatherService to get the current temperature in Berlin
        System.loadLibrary("WeatherService")

        weather = WeatherService()
        weather.currentTemperature("Berlin") { temp, units ->
            temperatureText.value = "Current temperature in Berlin: $temp $units"
        }
    }


    @Composable
    fun Temperature(modifier: Modifier = Modifier) {
        val text by temperatureText
        Text(
            text = "$text!",
            modifier = modifier
        )
    }
}
Explanation:
- A mutable state variable
temperatureTextholds the temperature string for UI display. - The UI is set up using Jetpack Compose. The
Temperaturecomposable function displays the current temperature. - The Swift library is loaded via System.loadLibrary("WeatherService").
- An instance of
WeatherServiceis created, and its methodcurrentTemperature(city:response:)is called (with "Berlin" as an example). The callback updatestemperatureTextwith the retrieved temperature. - Note that a Kotlin lambda is passed to the Swift function and is called asynchronously upon data availability.
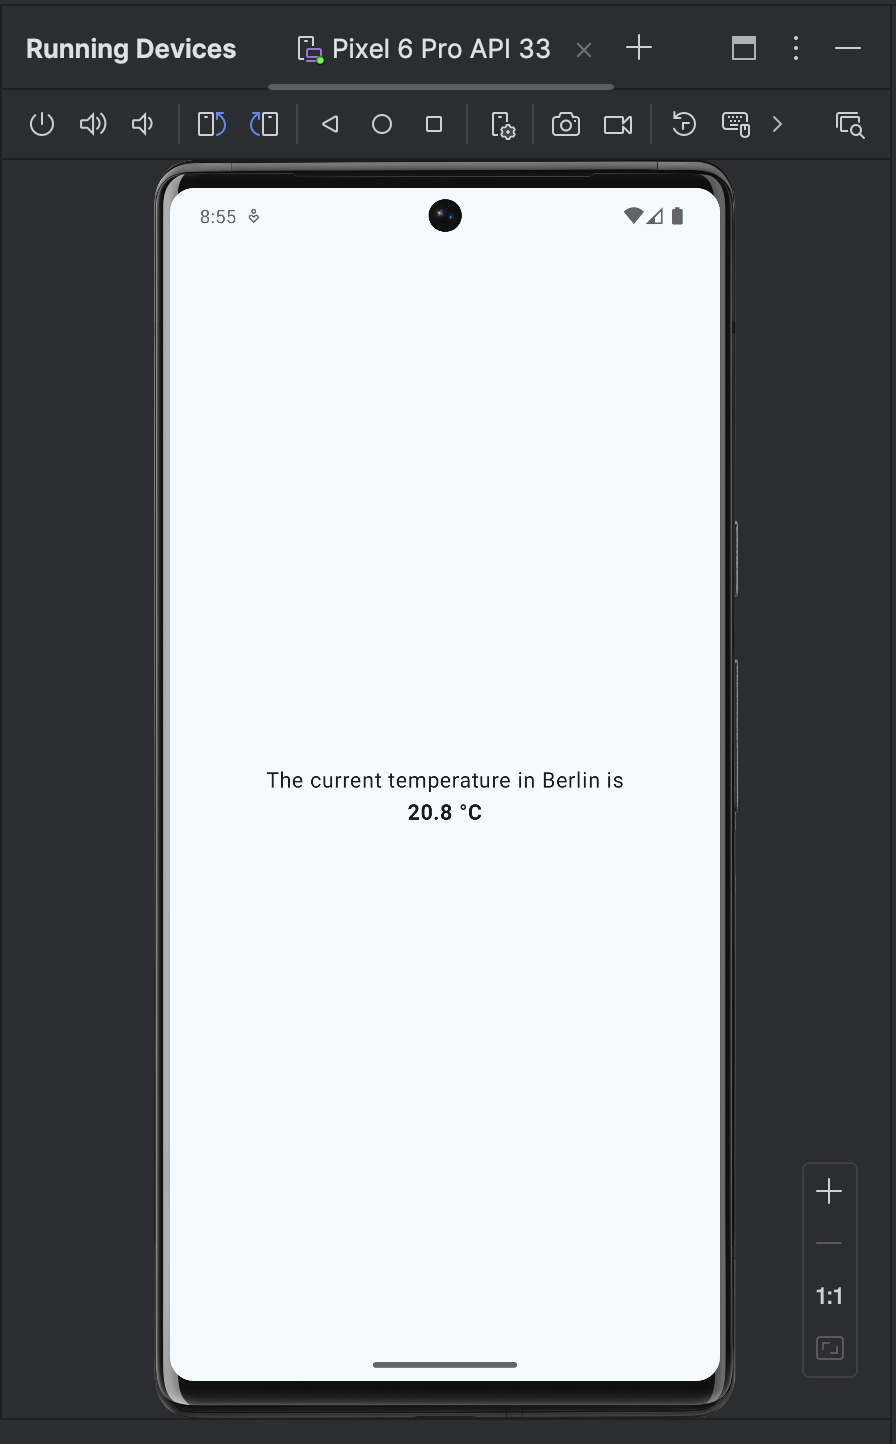
Run the native Swift app on Android